Remix
Introduction to Remix
I’ve recently been searching around for new tech roles (reasons for which I may go into later once things are a little more decided), and React is seemingly more popular than ever. In one role I applied for, I saw they were using Remix for Server Side Rendering (SSR), and having tried Next.Js on a project last year, and found it a little clunky (to be fair to Next.Js, the project probably should have just have been written as a vanilla React app, as the content didn’t really need the SSR aspect - so it’s just a cautionary tail to pick the right tool for the right job), I was keen to see what other developments were happening in this area.
Whenever I want to throw myself into a new framework or language, I find the tutorials are a great place to start. I don’t want to necessarily build the same thing the tutorial does (this can lead to losing interest quickly, and restrict your path of learning to just the basics), so I try and have a project in mind, so I can loosely follow the tutorial, but apply it to my own requirements.
Coming up with a project
This year will be my 10th time attending Glastonbury Festival, which is very much a calendar highlight for me. In 2014 I made a “Glasto 2014” app in AngularJs which took the lineup and allowed you to save the acts you wanted to see, and then let you know what your next highlight is.
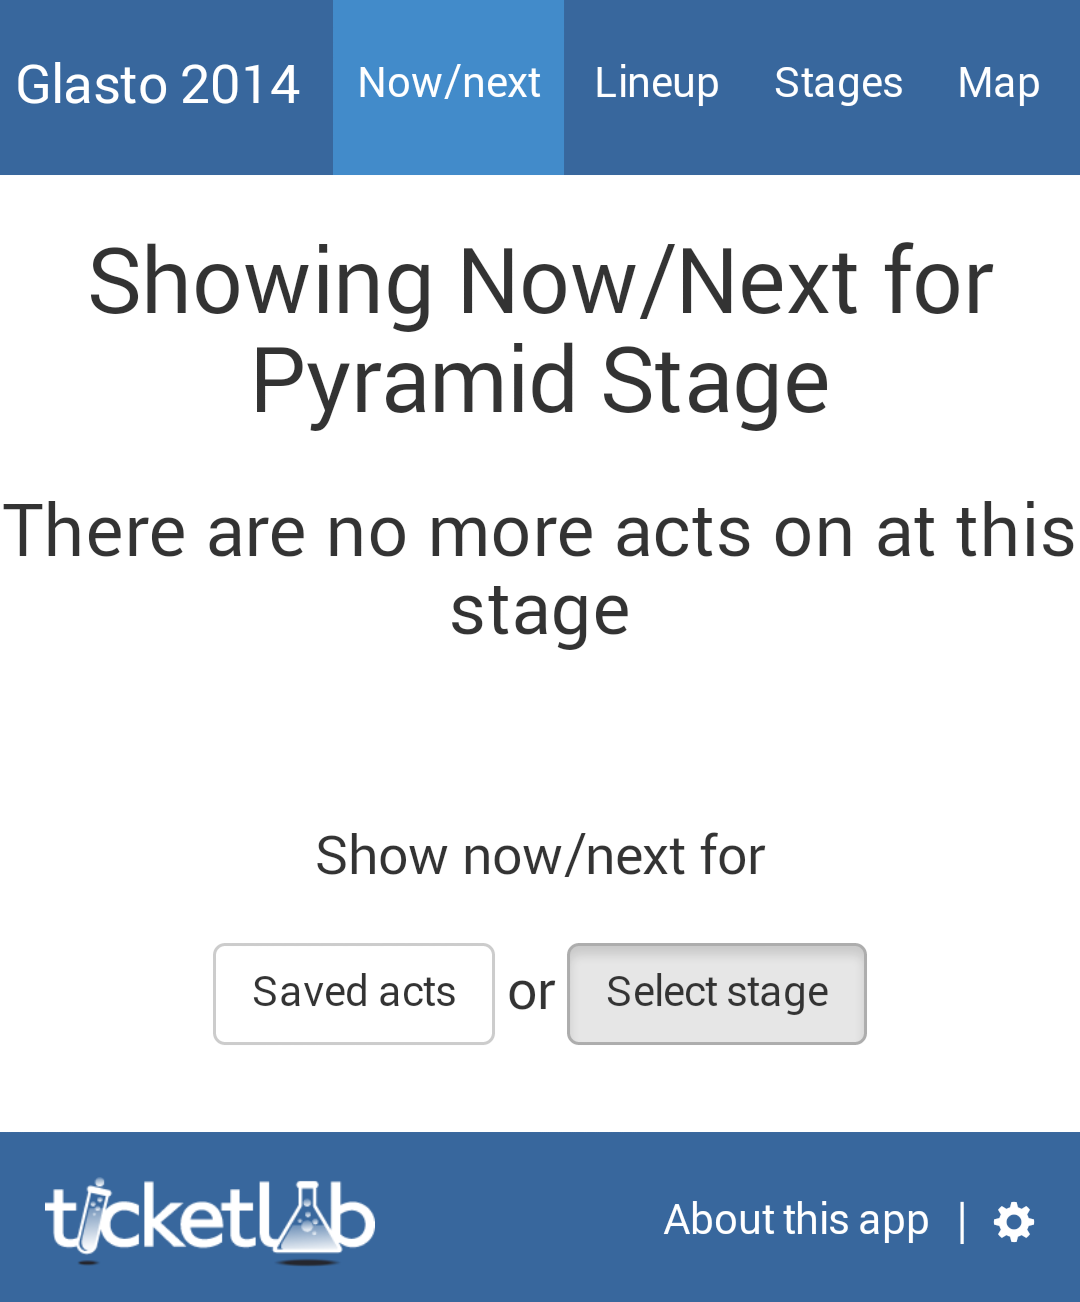 Glastonbury is quite a unique festival in that it’s absolutely HUGE, and has over 100 stages, so if you want to see something, you need a plan. Often you find yourself just wandering (which is a great plan in itself), and you might stumble across an act and want to know who it is.
This app solved both of these problems (and a couple of other use cases) with the full lineup, the option to view by stage, a map etc.
I’ve been updating this app every year since 2014, and the AngularJs with Grunt build has been starting to show it’s age - security vulnerabilities, outdated packages, and a the potential need for a database (the app powered by a json file and available as an offline-only Android app) mean it’s probably time to create something new.
Following the tutorial
With a non-commercial or prototype project in mind, we have a bit of flexibility - we can just start chucking code down and worry about pesky things like design and functionality as we go, so let’s just dive straight into the tutorial and see how far that takes us.
Remix’s official site has a short and a long tutorial - nice! There’s a short ‘blog’ tutorial, and a longer ‘remix-jokes’ tutorial. As we’re offering up information to users initially, rather than providing a way to input information, the longer tutorial fits the project better, and so that’s where we begin.
I followed the tutorial reasonably closely, but instead of creating routes for jokes, I created routes for ‘acts’ and ‘stages’ - you’ll see the method for describing routes is prescriptive, but logical:
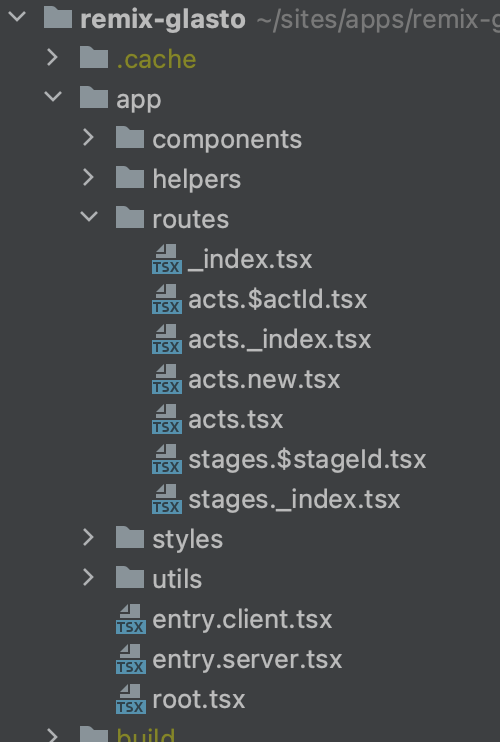
I also had to dig into Prisma a little to setup a relationship between the acts and stages (stages have multiple acts)
model Act {
  id          String   @id @default(uuid())
  createdAt   DateTime @default(now())
  updatedAt   DateTime @updatedAt
  name        String
  description String?
  short       String
  location    Location @relation(fields: [locationId], references: [id])
  locationId  Int
  start       DateTime
  end         DateTime
}

model Location {
  id          Int   @id @default(autoincrement())
  createdAt   DateTime @default(now())
  updatedAt   DateTime @updatedAt
  name        String
  description String?
  latitude    Float?
  longitude   Float?
  Act         Act[]
}
A note on styling
The remix tutorial takes a moment to emphasise their preference for more traditional CSS styling (create a CSS file and link that to the page). This has been my preference since before React was created: in my estimation inline styles in JSX or styled components was a bad solution to an issue that didn’t exist.
Some of the Remix templates ship with Tailwind, which is a fine enough solution if you’re quite new to CSS - you have many ‘utility classes’ that each do something very specific, so to create a white rounded box with a shadow you can add these classes directly to your HTML:
<div className="bg-white shadow rounded"></div>
That’s the equivalent of a semantic class name approach:
.Panel {
	background-color: white;
	box-shadow: 1px 1px 3px 0 #000;
	border-radius: 5px;
}
Tailwind (in this particular example) doesn’t save you any file size, but can be used to prototype quickly, but you lose the semantic class naming, which really helps to annotate your html:
<div className="Panel"></div>
So, perhaps worthy of more of an article in it’s own right, but it’s nice to see Remix going back to the old tried-and-tested ways.
Getting SASSy
I found that Remix doesn’t ship with SASS (my CSS pre-compiler of choice), so I added that:
In the terminal:
npm install node-sass
in package.json
"scripts": {
  ...
  "dev:css": "npm run build:css && node-sass -rw ./styles -o ./app/styles"
},
Then in a separate terminal tab from your dev process:
npm run dev:css
Deviating from the tutorial
At some point, you’ll find the tutorial has served it’s purpose - you’re fully immersed in your own project and searching for specific solutions to your own problems, rather than following the instructions. This occurred for me around half way through the tutorial. I’d got a list of stages and associated acts seeded to my database, and I wanted to get the initial prototype lineup list pushed to a live server, so features could be added in a more Agile-compatible way (always launch your app early, functionality gaps can be plugged later but if you don’t launch it early you risk never launching at all - trust me on this!).
Deploying the app
I decided to try the service Remix seems to recommend for deploying: Fly.io. I expected this to work out of the box, but instead I spent far too long trying to follow the help articles for deploying and hitting various snags before I gave in and tried a different route: Remix Stacks.
Remix comes with a few templates they’ve named “Stacks” that are optimised for certain use cases or deployment environments. They’re music-themed, which I thought was quite nice for my music festival app!
As my initial app had been created with the basic options, to apply a new template I had to create a new project with npx create-remix@latest and then select one of the existing templates. I chose “Blues”, knowing I wanted to deploy to Fly.io, and that I wanted some kind of login functionality eventually (which this template comes with). I installed the new project and went straight through the steps to deploying to ensure this worked.
Thankfully, the deployment worked first time, so I ported my code over to the new project making any necessary updates to code to get it to work in the new environment.
The new Stack also came with some Cypress testing and type checking for Typescript as part of the build steps, the latter of which I had to do a little work to get to pass (my input data source for the stage lineup doesn’t exactly match my database schema, so I had to create some interim interfaces to ensure all formats match what is expected).
Wrapping up
So, there we have it! I launched my Glasto 2023 Lineup app in time for the festival. I’ve turned off the live site now (until next year).
You can check the code out for yourself, if you should wish. Now we have the base in, I may try to document some of the other features as I create them, as I don’t feel all use cases have been explored in the docs yet.
Happy coding!